⚠️ Note that this post hasn't been updated for at least a year and the information may be outdated, proceed with caution! (Last updated: September 21, 2019)
You can use a default "Menu" module on your template or page to add a breadcrumbs style menu.
Step-by-step instructions
Step 1: Add a Menu module
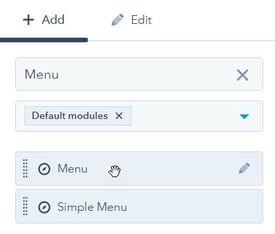
Add a "Menu" module module to your template or page. On a template you can do this by clicking on the "+ Add" tab on the right-hand sidebar and searching for the "Menu" module:

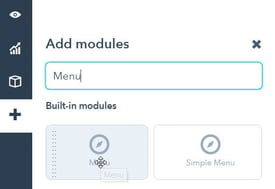
On a page you can click on the plus sign (+) icon in the left-hand sidebar and search for the "Menu" module:

Note: If you don't see a plus sign (+) icon on the left-hand side of your page it means your template doesn't have flexible columns/drag-and-drop enabled. You may need to either add the menu to the template or add
flexible columns to it.
Step 2: Place the module and open its settings
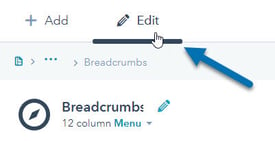
Drag the module to wherever you would like it to appear in your template or page and then click on it to open the module settings. These will appear under the "Edit" tab on the right-hand sidebar:

Step 3: Update the module settings
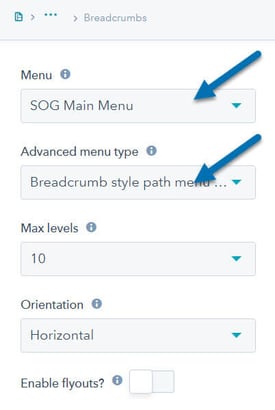
Scroll down in the module settings, select your the Menu you would like to use and set the "Advanced menu type" to "Breadcrumb style path menu (uses horizontal flow)":

You can leave the other settings as they appear, although I've chosen to set the Max levels to 10 and disable flyouts above.
Step 4: Publish your template or page
Click on "Publish changes" on the top right-hand corner of your template or "Publish" on the top right-hand corner of your page and you should be ready to go!
Note: you may not see the breadcrumb navigation until your page is live. You also need to make sure that the page you are viewing or it's parent page appears in the menu you've selected in order for it to appear.